Further Set Construction- Week 12
These are the smaller two trees and how they clearly differ from one another, this has let me also experiment in tree shapes, as I struggle to draw trees but when constructing them , you can get a feel for them and what shapes work and which dont. This is defiantly a stage that I have enjoyed as I could experiment and be more hands on in what I can do creatively. This is why I want to make more forest scenes within the future, or add to this modules set after when I have more time to add finer details I wont be able to add this time.


This is the three trees together which can show the height differences which looks clearly bigger, I have completed the larger tree also at this point and added all of the branches and weird shapes that I thought suited the tree and its overall look. Here you can see the different shapes as well, so hopefully when fully finished, the trees should look all different and visually appealing becuase of this, as they all show different pattens and twists.
This is how I started the smaller third tree, I have made him thinner and with longer branches, as the other two were thicker. This will add more variety within the trees, and when adding the foliage all of the trees should hold it differently.
I have also added a more squished base to this tree as its roots will be more sunken into the ground, as he is a smaller tree. This lets me show different varieties of trees that are within the rainforest. This also lets me keep the trees sturdy as I dont want them falling over or wobbling too much.
Here are all of the trees together and on the set to show how they will be placed and how they will sit. This let me see the scale of everything and how small the diggers needed to be for those scenes for it to work. This was a worry as one of the members of the team, her mother has some from daycare so I need to know the actual size so I can make sure they are correct becuase if they weren't we were going to have to busy some which would cost more money. Yet all the trees look good and different, and proportionally correct to the set and its formations so this was a very positive outcome that I was hoping for.
This is another two angles showing where everything will sit and the scale of the trees to the set.

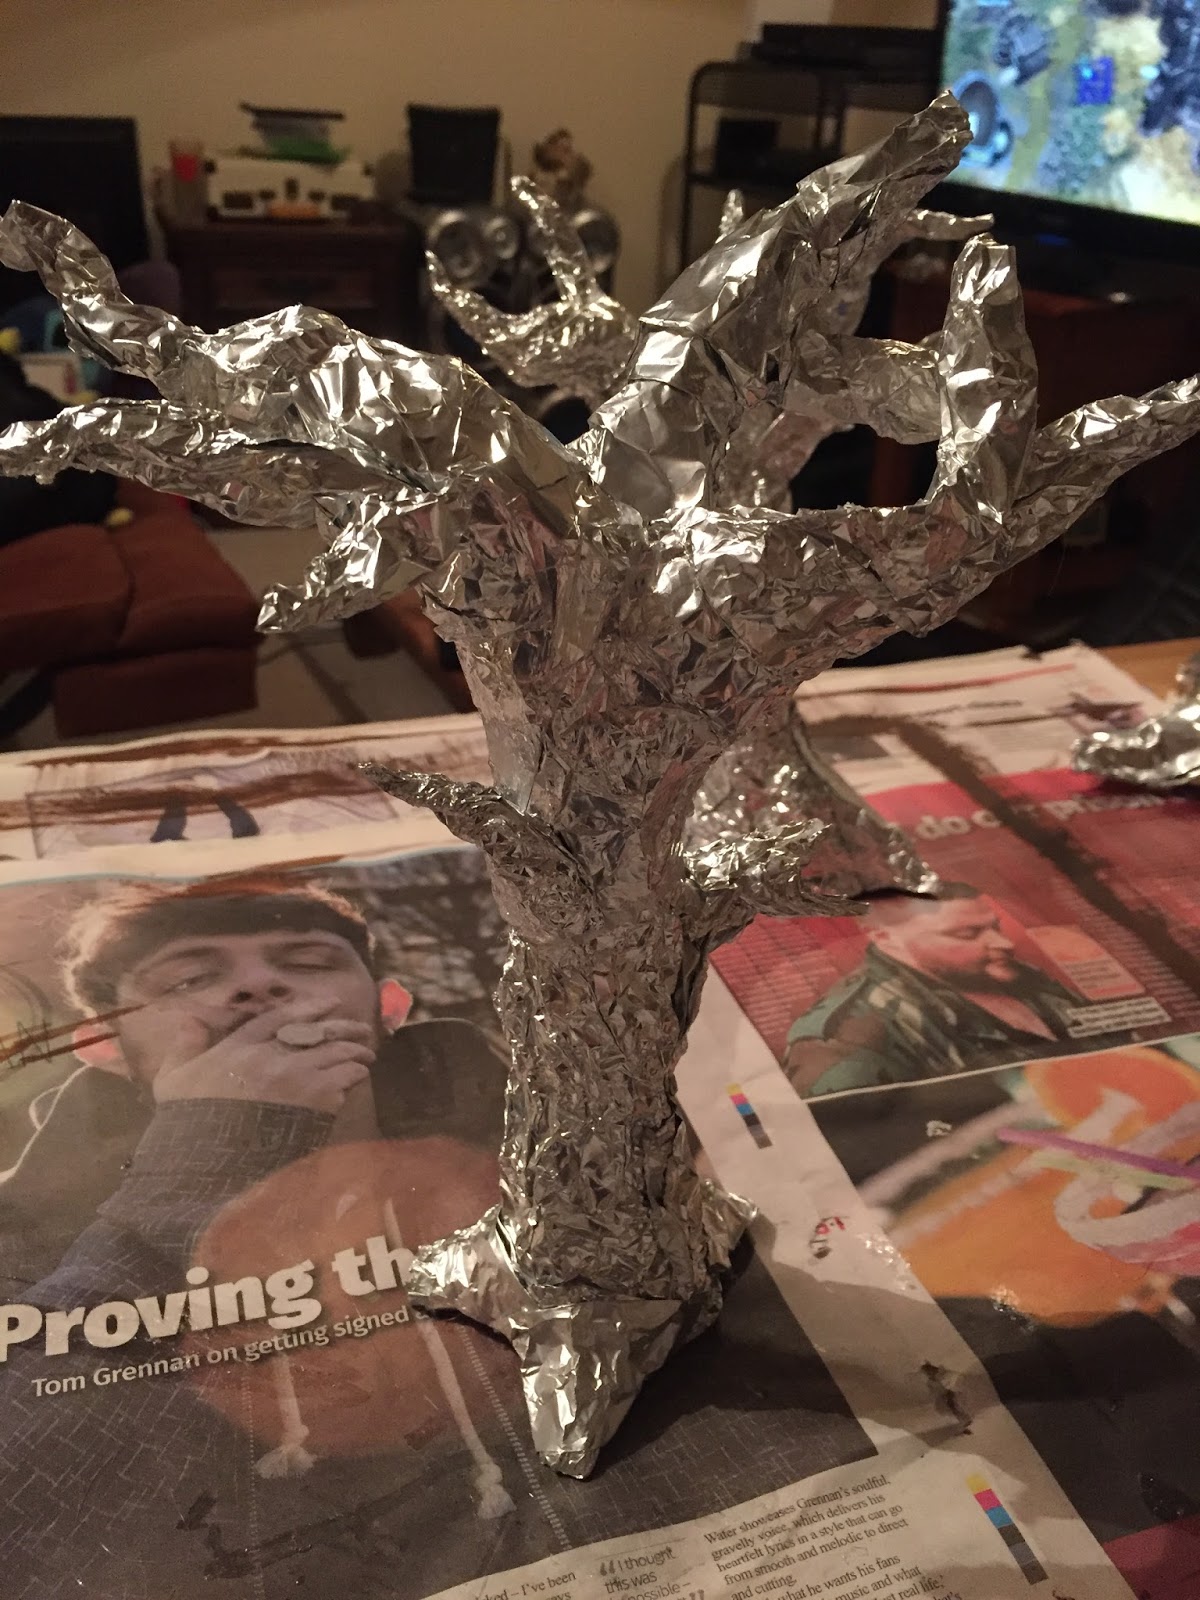
When the glue within them has dried, I covered them with Paper Mache. For this I mixed PVA with water to water it down becuase it would have ripped the tissue paper if it was left thick, I used tissue paper becuase it meant I could keep the texture of the foil on the surface. This was so it could look like bark and the trees natural texture becuase without it, it would look flat and strange. I also added brown to the mix so I could add layers of this mixture so it strengthens the trees but then also becomes the outer shell so I dont have to do too many layers as this will take time and could cover some of the texture that I dont want to lose.
This was incredibly hard to do though becuase the foil was a slippery surface, so when adding delicate tissue paper, it ripped and just got caught within the brush so this was very annoying and made this task a lot more time consuming to do. Yet once started it tends to do better holding to the paper so once the base or branches are done, it becomes a lot quicker and easier.
This is after one coat, so you can still see though the paint and see some shine from raw foil showing through so this is why I am doing two coats, so this can become thicker and not be seen, but this does show the texture, which does look like tissue paper but I like the overall aesthetic it creates and how it looks through a camera lens, as it adds shadows so this should pick up nicely through the camera.
After doing the tree above, I found it a lot harder to keep a hold of when I left the delicate branches at the top, this is why for these trees I did it the opposite so I could get a tight grip of the base while adding in the smaller sections of paper mache as these were the most difficult, but this is all part of the learning and trial and error which I am experiencing doing stop-motion as their is still a lot to learn when doing set construction.
Here are two more trees done, and it makes such a big difference having them brown, it really brings them to life. This has helped lift my spirits as I am closer to making something that I hope to love and I dont want to let the team down by creating something they dont like, this has always been my big worry.

There are all of the trees together. I am so happy they are done and now I have one less thing to complete for the sets. But there is still a lot to go. This really shows the height and shape differences of them all so when on the scene I hope they still continue to look unique to one another. If I had more money, I would have bought different colours so the trees could have been slight different shades of browns and reds, but sadly they are all the same colour, but once the foliage is on, this is when they will look different and will have slight different coloured leaves.


No comments:
Post a Comment