Extended Brief-
Walls of the Set
When figuring out what pieces of wood I need, I measured out all of the walls, base and upper level so that when I went to get the pieces they would all be the correct sizes.
Here I have also had to figure out how high the stairs needed to be for the upper level to fit, as well as how long so the desk would fit. This was difficult as I had to work out how stairs were made and how steps needed to be worked out.
After cutting the wood I started to add paint to the two bases. I chose to paint them because the sizes were much larger than I thought. I was going to use slats to create floorboards but for lollypop sticks, I would have needed hundreds just for the larger one which would take too much time and money.
This is why I am mixing brown, two shades of red and a dark yellow to create the tones of wood so it isn't all one tone.
When painting it on in strokes, you can see at the back it coming together to create shades so the brown isn't flat.
After this I wanted to start on one of the walls to attach cut lollypop sticks to the wall to create wall panelling. I have also added a skirting board to the base for a realistic wall. I really like how this looks so I will add it to all of the walls and paint it a dark blue colour to the wall to balance the amount of brown, this is also why I am adding a yellow tea stained wall paper for the walls.
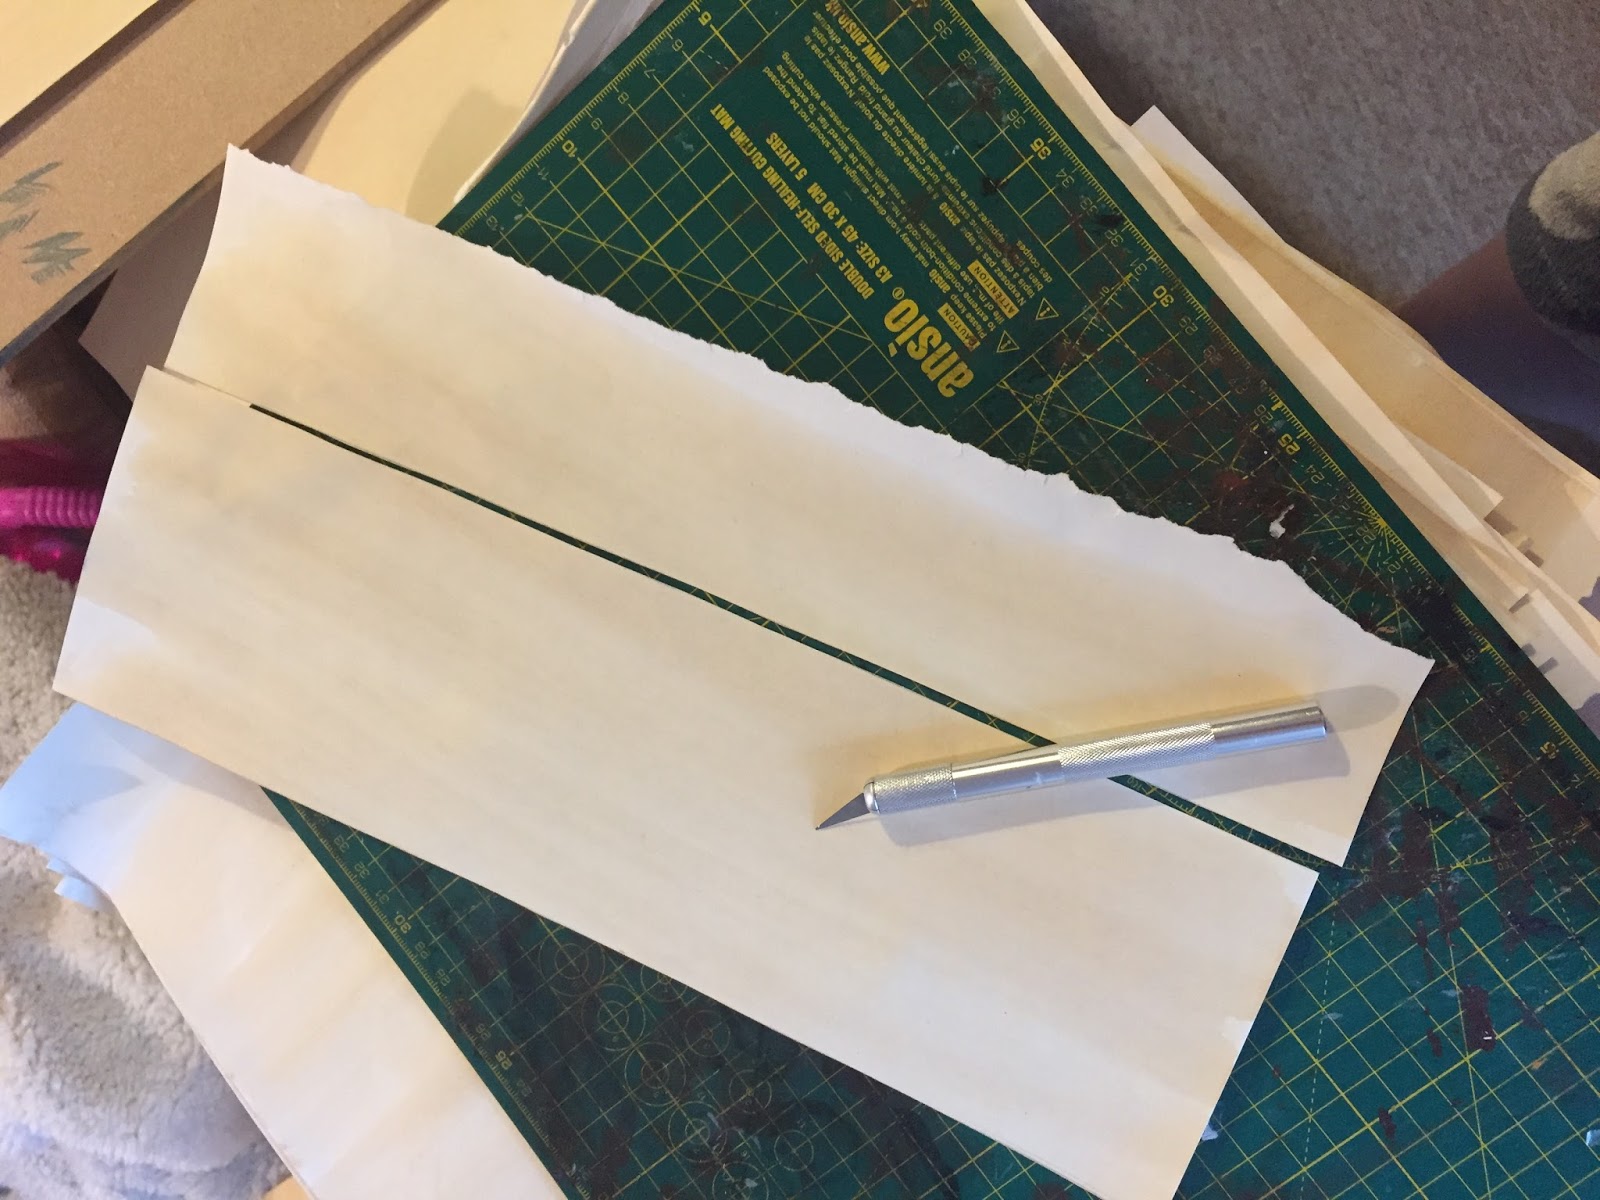
This is the process of adding strips of made wallpaper to the walls. I tea-stained thick paper sheets. Cut them into strips and found a scraper. I then added a think amount of PVA to the back and used a scraper to get a really thin even layer. I then place it into it's place on the walls and stick it down before scraping it again so no bubbles are left. It really does look like miniature wall paper when on the walls so I am very happy with how it has turned out and the overall effect.

OnTo work out the stairs, I needed to work out a lot of different dimensions for it to work effectively. For some reason this was boggling me for a very long time. I have sketched how it is supposed to look quickly and the measurements before starting on marking the wood on where the upper-level reached and where the bottom would end.
On these two images below, I have added more detail for the sketch like steps and how the bottom will look. Because of the sizes and height it needs to reach, I have had to make the stairs bend at the base, but this will make the stairs more stable and can show more of the character when they are coming down as it wont be as hidden to the wall.
At the bottom I needed enough room for the desk originally but after quickly digitally sketching where the character would go, there wouldn't be enough space for his chair so I can move the desk out for him to have room.

To make sure the steps will fit, I then found the sizes of wood needed and made sure they would all be fitted in the space provided.
Here you can see the body of the steps made from thick cardboard. Once measuring the width of the stairs and cutting the grid in the shape of stairs, when flipped the stairs on the other top are the exact same as the other.
I have now added supports for the stairs so the outer piece could be glued well as stay secure.
I add a base and then secure the top piece. Aligning it with the top.
Here you can see it matches the drawn base.
I have also glued the back piece, as well as the base for the landing steps so it is the right height and the steps can be added once dry.
These are the backs of the stairs and now the tops can simply be glued on top to create secure stairs.
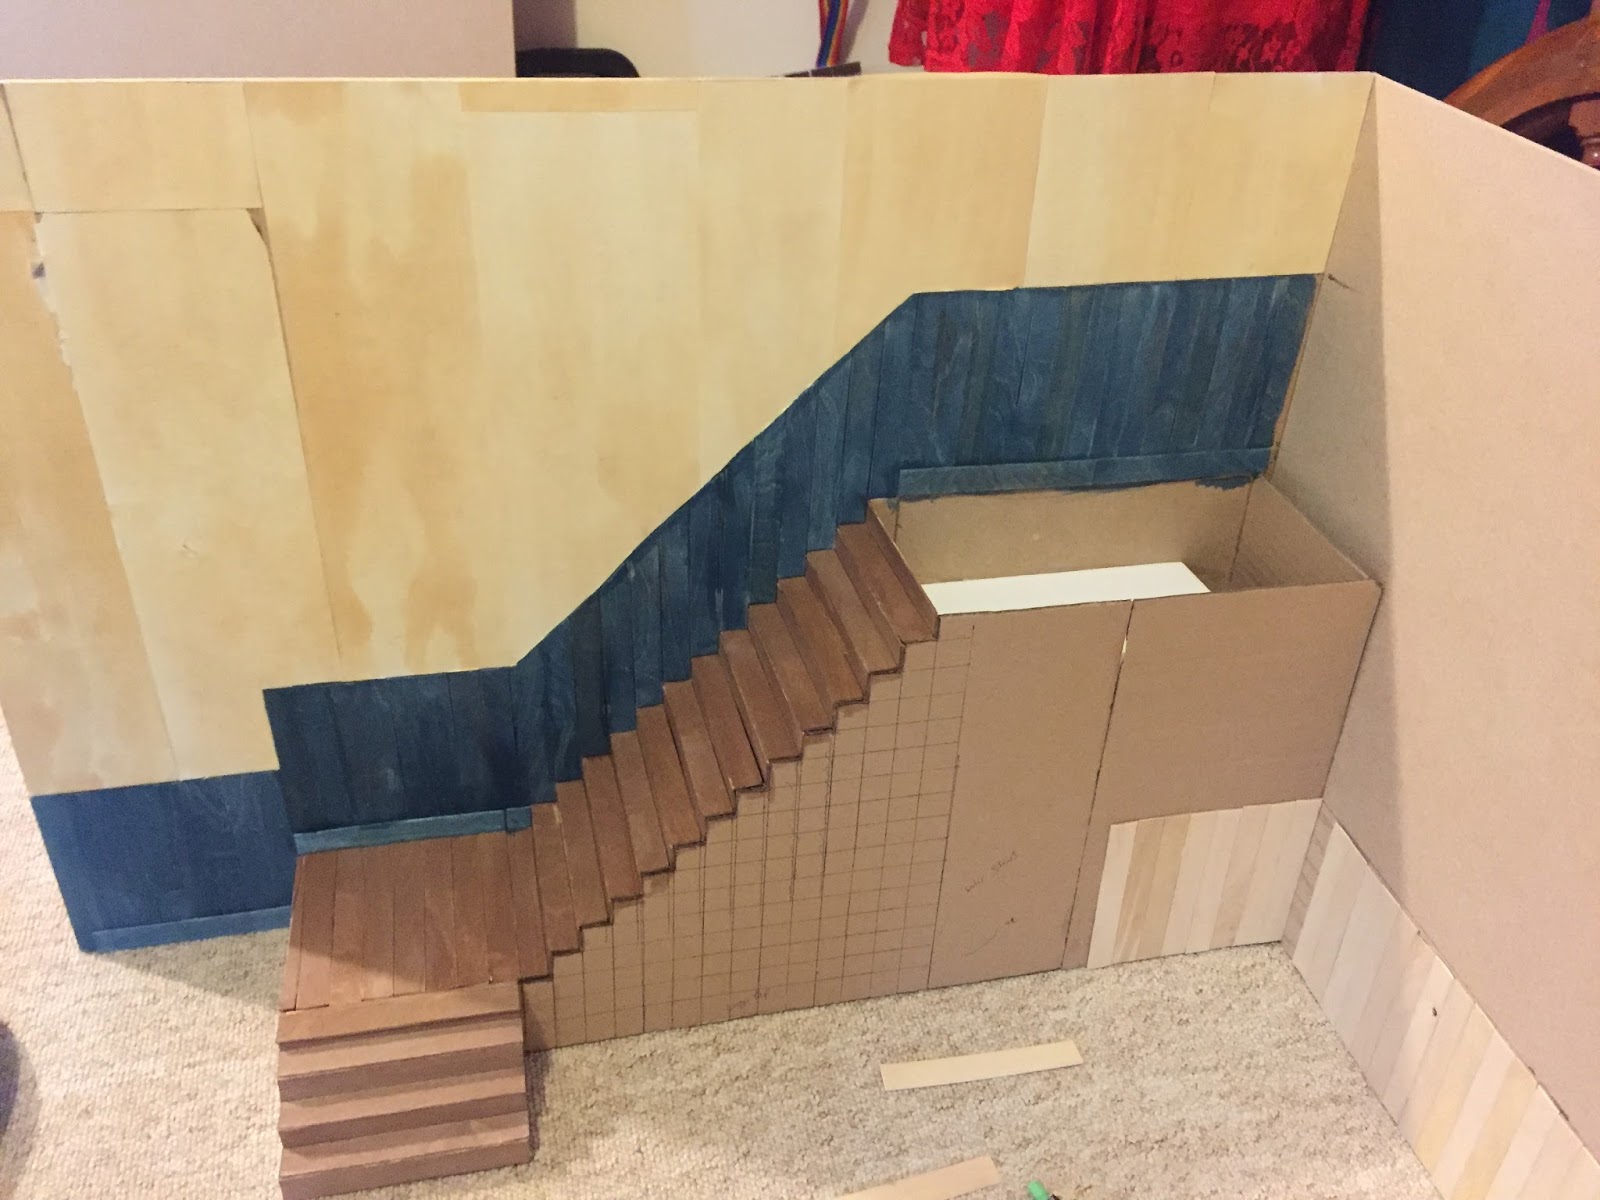
Here the landing, steps and beginning of the outer steps have been added and glued. I then needed to add the panelling to the stairs to keep the walls uniform, this took a lot of time as the stairs on the way up needed the panelling to be slanted, so this needed to be done gently so it didn't snap.
This is the complete staircase.
I am now dying the panelling blue to balance the brown. I also spoke to Dotty and the colours of blue and orange go well together and stay with an audience more, this will help because the load of brown might be too overwhelming without come colour.
Here I have made lots of banister poles to attach to the stairs when I have got the wallpaper completed.
This is what they look like now, with all of the colour added they look much better than I could have imagined so I am very happy with them.


 OnTo work out the stairs, I needed to work out a lot of different dimensions for it to work effectively. For some reason this was boggling me for a very long time. I have sketched how it is supposed to look quickly and the measurements before starting on marking the wood on where the upper-level reached and where the bottom would end.


No comments:
Post a Comment